


Glasses case - Free english tutorial
Hello !
Today I finally ended to sew a little thing that I promised to my sister more than one month ago ^^'

In fact, I sewed a glasses case for myself along with my backpack. I made the same for my mother, and when my sister saw the iridescent fake leather, she loved it. I planned to do one for her too in order to write a tutorial, and that's now done =D
-- Cliquez ici pour accéder à la version française de ce tutoriel --

It's a soft case strengthened by a fusible interfacing. It s closed with a magnetic button which don't need any power to close, because, of course, we don't want to flatten our glasses ;) You will find the pattern ready-to-print just below. That's a pattern I designed myself last year (or the previous one ?) helped with several inspiration from the internet. I was looking for a pattern in particular but didn't find what I wanted to. You only need to print it at full size / 100% scale (3 sheets of A4 paper).
Furniture :
4 pieces of fabric 22 x 25 cm : 1 in faux leather, 1 in cotton for the lining, 1 in light interfacing, 1 in heavy interfacing as Decovil
thread to match your fabrics
strong thread which matches your faux leather
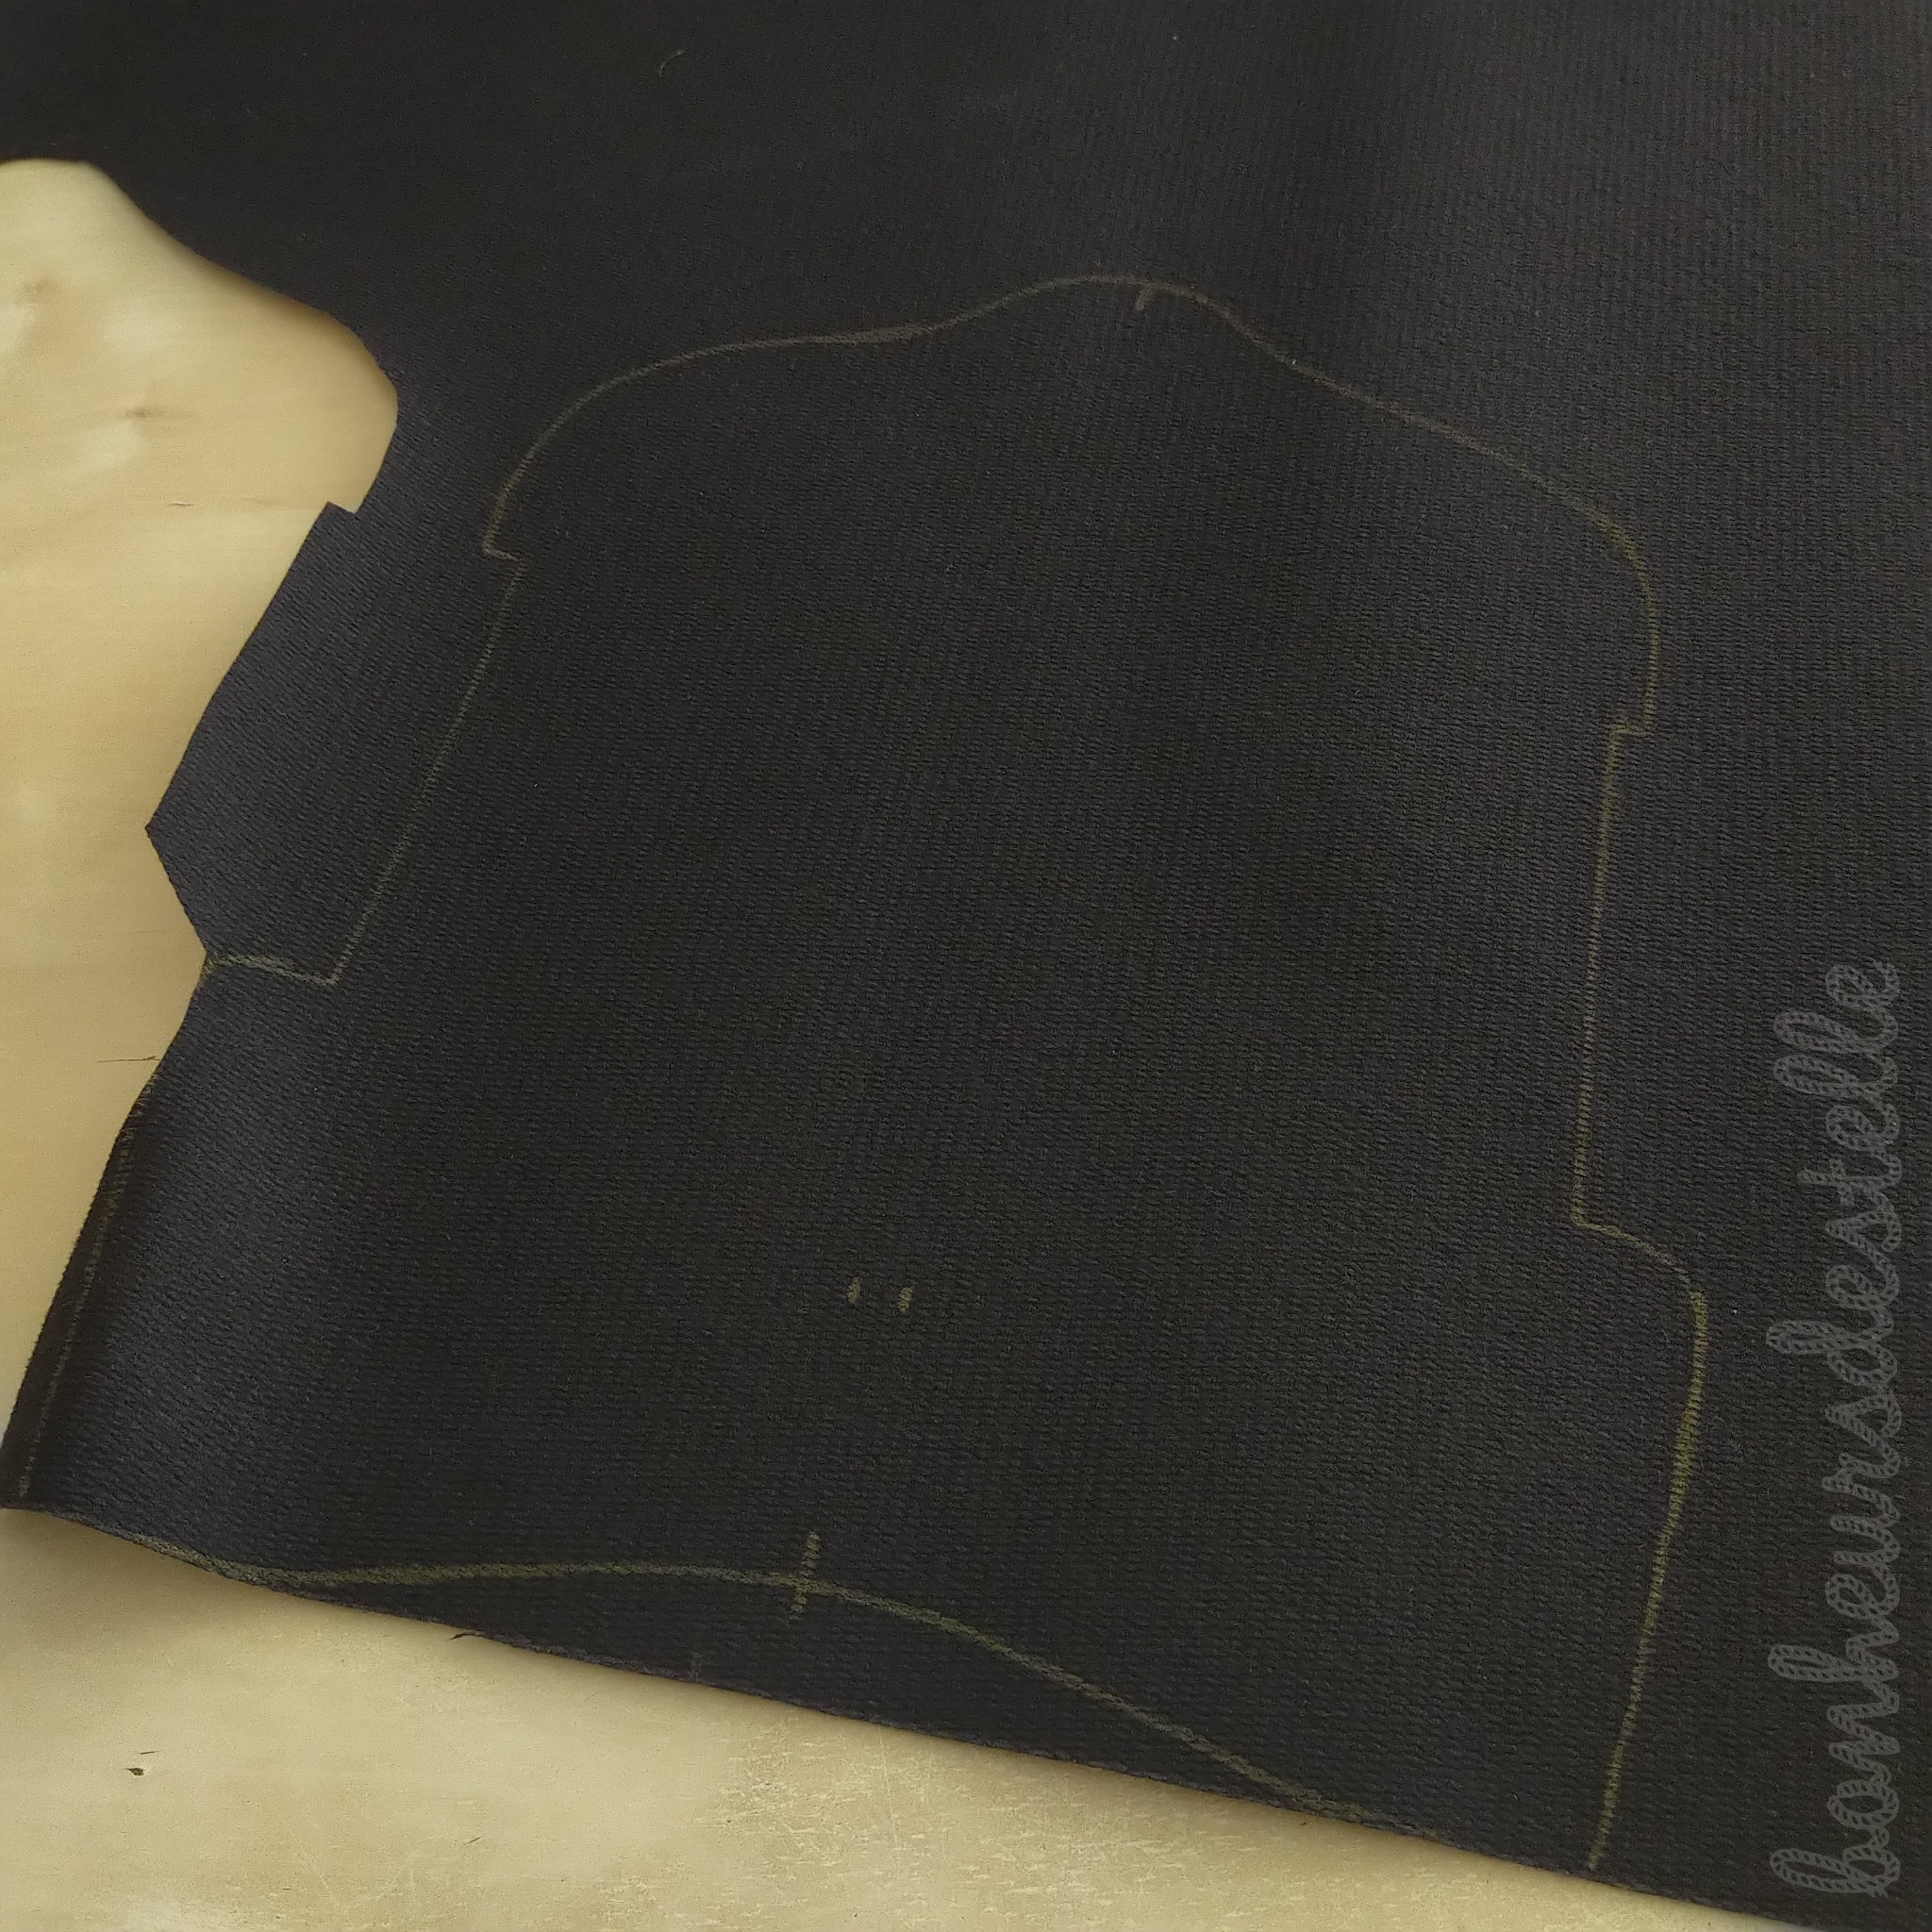
You have to cut out 4 pieces :
++ 1 in faux leather et 1 in lining (lilac cotton poplin here) which will be the same size by using the "exterior" pattern which has seam allowances at top and bottom
+ 1 in the light fusible interfacing by using the "exterior" pattern without the top and bottom margins
+ 1 in the heavy fusible interfacing, I recommend the Decovil Vliesline by using the "heavy interfacing' pattern without adding any seam allowances


Assembly :
Iron the fusible light interfacing with the lining. Make the holes for the button helped by a stitch unpicker


Make also the holes in the fake leather.

Sew the lining and the faux leather right sides together. Trim the overhangs if needed. Trim the margins with pinking shears. Turn into right side. Flatten the seams using the iron. Take care and use a pressing cloth to protect the faux leather.


Thanks to the open sides, place inside the heavy interfacing. Iron to fix. Let it dry for 30 minutes so that it sticks well.


Stitch along the top and bottom seams 2 or 3mm far from the edge (not more ! otherwise it will be hard to place the button. I had difficulties on these lilac version). Maker the holes for the button in the heavy interfacing by following those already done in the faux leather. Place the two parts of the button. I was helped by my little metal ruler to fold the fixing brackets.


Close the sides with a zigzag stitch or a serge.

With magic clips, put together the surged sides to close the case. Handstitch 0,5cm from the edge with a double stitch and strengthened thread. Turn into right side. Mark the folding with the hands. Store your favourite pair of glasses =D


/http%3A%2F%2Fstorage.canalblog.com%2F44%2F50%2F1216433%2F133529909_o.jpg)
/http%3A%2F%2Fstorage.canalblog.com%2F19%2F09%2F1216433%2F133451110_o.jpg)
/http%3A%2F%2Fstorage.canalblog.com%2F20%2F09%2F1216433%2F133198219_o.jpg)
/http%3A%2F%2Fstorage.canalblog.com%2F44%2F55%2F1216433%2F132531111_o.jpg)